

Choosing the best cosmetics for dry skin can be challenging when foundation settles into dry patches or creates a cakey finish.
If you have dry skin, the right cosmetics and technique can give you a smooth, hydrated finish that never looks heavy or cakey. The secret is choosing hydrating, buildable formulas and applying them in thin, well-prepped layers so your makeup enhances your skin and give you a clean and beautiful glowing skin instead of sitting on top of it.
What Are the Best Cosmetics for Dry Skin?
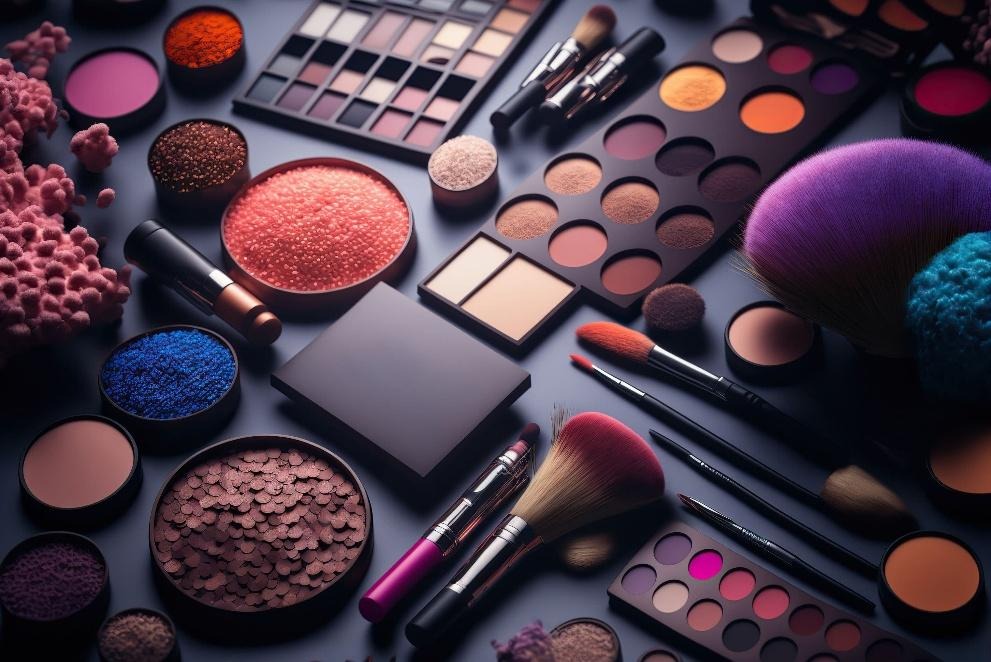
Cosmetics are products designed to cleanse, beautify, enhance, or alter the appearance of the skin, hair, nails, and lips without changing the body’s structure or function. The best cosmetics for dry skin usually include hydrating foundations, creamy concealers, and moisturising products that help create a smooth, comfortable finish. In everyday language, “cosmetics” usually refers to makeup—items like foundation, concealer, blush, bronzer, eyeshadow, eyeliner, mascara, lipsticks, and setting sprays—but the term also includes skincare basics such as moisturizers, primers, and sunscreens that prepare and protect the skin before makeup application.
For dry skin specifically, cosmetics should do more than just add color. They should also support hydration and barrier function. That’s why dermatologists and makeup artists often recommend formulas with ingredients like hyaluronic acid, glycerin, ceramides, squalane, and light facial oils. These help attract and lock in moisture so your base doesn’t cling to dry patches or turn flaky and cakey through the day.

Think of your cosmetics as a system:
- Skincare cosmetics (cleanser, toner/essence, serum, moisturizer, SPF) create a hydrated, even canvas.
- Prep cosmetics (hydrating primers, color correctors) smooth texture and improve makeup grip.
- Color cosmetics (foundation, concealer, blush, bronzer, highlighter, eye and lip products) add dimension and finish.
When each layer is chosen and applied correctly, the result is a natural, “my skin but better” look—even on very dry skin.
Makeup for dusky, medium and fair Indian skin tones
Finding the best cosmetics for dry skin in India doesn’t have to be expensive. Many budget-friendly brands offer foundations and concealers in a range of Indian skin tones.
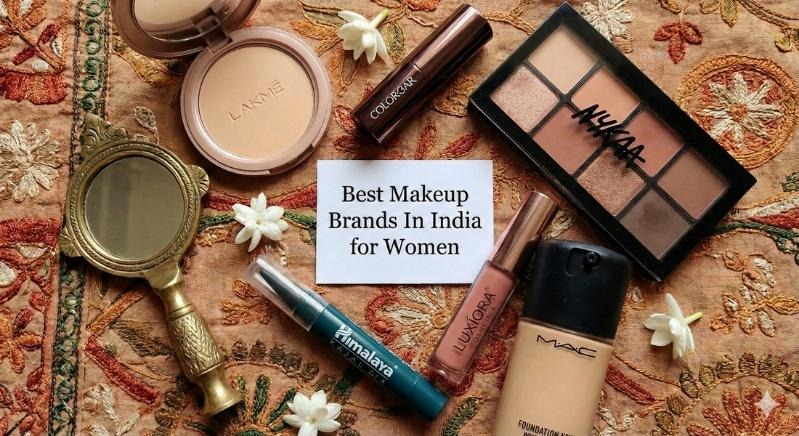
Indian skin tones range from very fair to deep, with warm, cool, and neutral undertones. The best affordable brands for Indian skin are those that:
- Offer inclusive shade ranges (especially in foundations and concealers).
- Formulate for heat, humidity, and pollution.
- Keep prices accessible without compromising wear or finish.
Below are budget-friendly brands widely available in India that work well for dry to normal-dry skin and suit Indian complexions.
Drugstore and mass-market brands
Maybelline New York
- Known for reliable foundations like the Super Stay Lumi Matte and Fit Me lines, which have shades that match many Indian skin tones.
- Offers creamy concealers, blushes, and lip products that perform well in humid weather.
- Easily available online and in stores at mid-range prices.
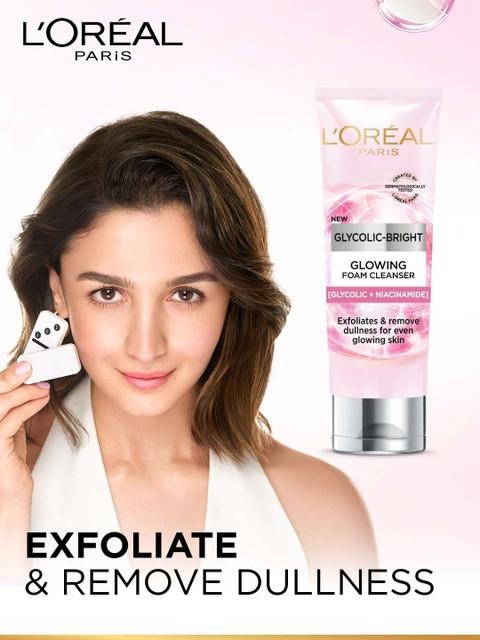
L’Oréal Paris
- Foundations such as True Match and Infallible Fresh Wear have extensive shade ranges, including options for medium to deep Indian tones.
- Their tinted moisturizers and dewy-finish foundations are good for dry skin when paired with proper prep.
- Frequent discounts make these products very affordable.
When choosing the best cosmetics for dry skin, look for lightweight foundations with a hydrating formula and a natural or dewy finish.
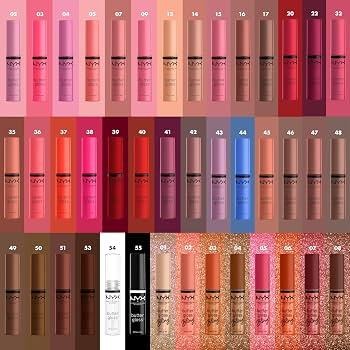
NYX Professional Makeup
- Popular for its Born to Glow line (foundation, illuminator, setting spray), which gives a hydrated, luminous finish ideal for dry skin.
- Wide variety of blushes, bronzers, and lip products in shades that complement warm and olive Indian undertones.
- Priced slightly higher than local drugstore brands but still budget-friendly for the quality.
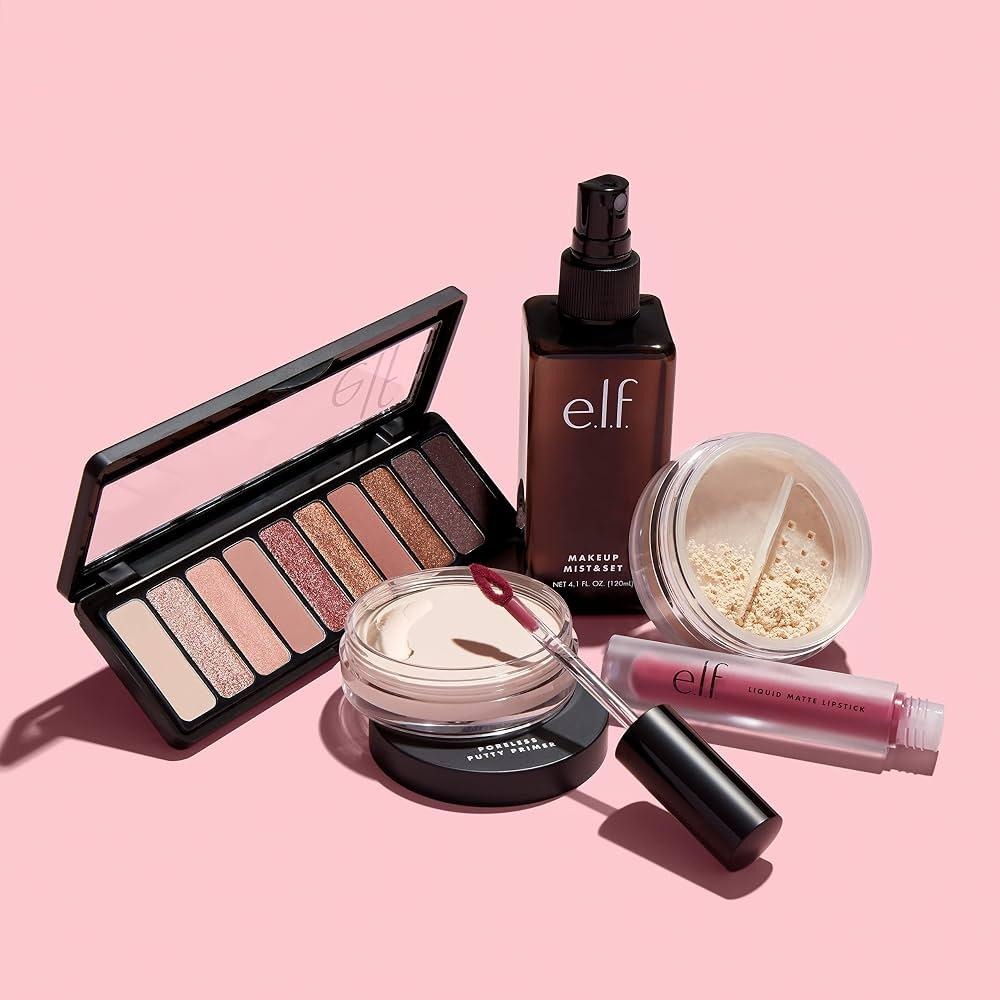
E.L.F. Cosmetics
- Offers hydrating foundations, skin tints, and cream blushes at very low-price points.
- Many products are vegan and cruelty-free, with formulas that don’t feel heavy on dry skin.
- Shades can be limited for deeper tones, so watching or checking online reviews for your specific tone is important.
Indian and South Asian-focused affordable brands

SUGAR Cosmetics
- Designed with Indian skin tones in mind, with foundations, concealers, and lip products that suit warm and neutral undertones.
- Price range is typically ₹299–₹999, making it accessible for students and young professionals.
- Known for long-wearing, transfer-resistant formulas that still look fresh on dry skin when layered lightly.

Swiss Beauty
- Extremely budget-friendly with a huge range of foundations, concealers, and color products.
- Many shades cater to light, medium, and wheatish Indian complexions.
- Some matte products can be drying, so stick to their luminous or satin-finish bases and cream blushes if your skin is dry.
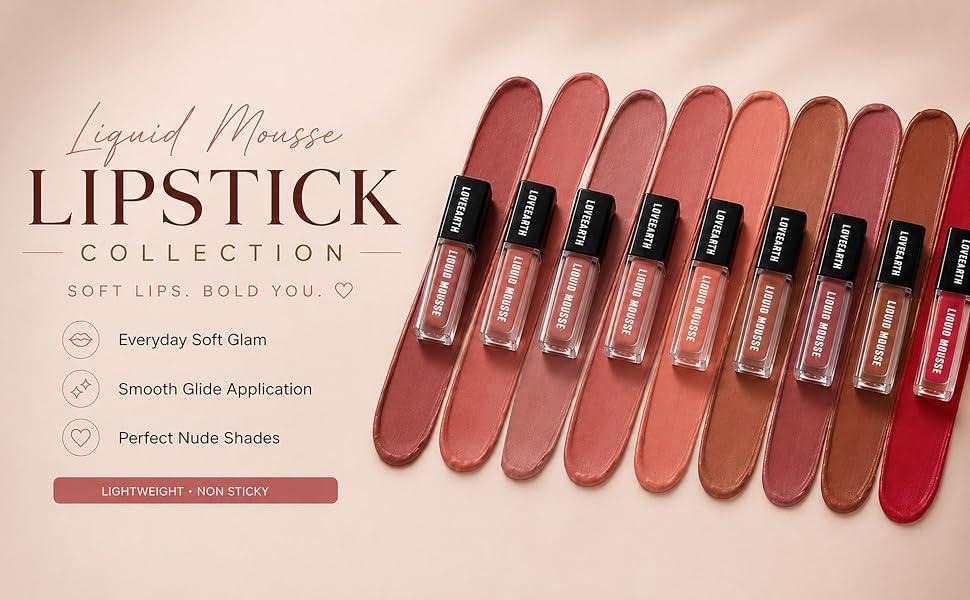
Love Earth
- Clean, plant-based brand with cream pop blushes, skin tints, and highlighters that give a natural glow.
- Formulas are generally gentle and hydrating, which is great for dry or sensitive skin.
- Shades are curated for Indian tones, especially in cheek and lip products.
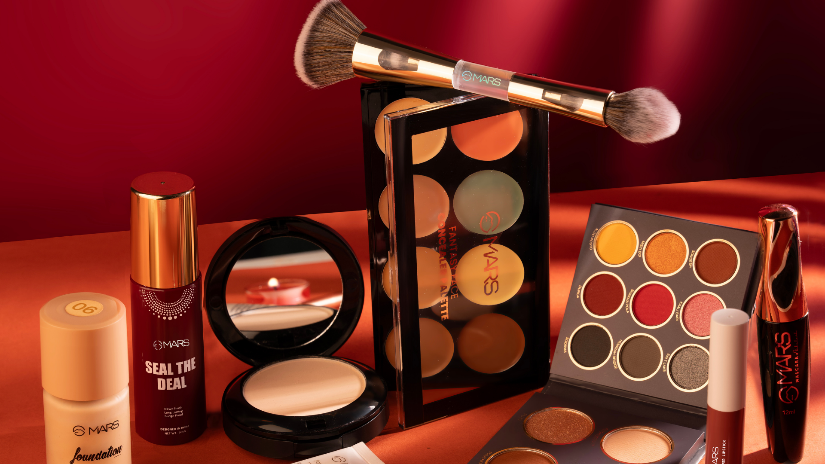
MARS Cosmetics
- Affordable lipsticks, glosses, brow pencils, and highlighters that perform well in Indian climates.
- Their matte lipsticks are popular, but for dry skin, focus on their glosses and satin finishes.
- Very low-price points make it easy to experiment with different
shades.
Studio west (Westside)
- Offers cream blushes, highlighters, and bronzers with a natural, skin-like finish.
- Shades are designed to flatter Indian complexions, from fair to deep.
- Easily available in Westside stores and online, often at promotional prices.
How to choose the right shades for your Indian skin tone
- Fair to light skin: Look for foundations labeled “porcelain,” “ivory,” or “light” with warm or neutral undertones. Peachy or soft pink blushes work well.
- Wheatish to medium skin: Choose “beige,” “natural,” or “medium” shades with golden or olive undertones. Coral, warm pink, and terracotta blushes enhance this range beautifully.
- Medium-deep to deep skin: Go for “tan,” “honey,” “mocha,” or “deep” foundations with rich golden, red, or neutral undertones. Berry, brick red, and deep coral blushes look vibrant and natural.
Whenever possible, swatch foundation on your jawline in natural light. The right shade should disappear into your skin without leaving a gray or orange cast. For online shopping, read reviews from people with similar skin tones and dryness levels to avoid mismatch or overly matte formulas.
Easy Makeup Tutorial for Dry Skin: Achieve a Smooth, Dewy Finish
For dry skin, the goal is hydration at every step, thin layers, and minimal powder. Below is a beginner-friendly, step-by-step makeup routine designed to prevent a cakey look while keeping your skin comfortable and glowing. This routine works with affordable products suitable for Indian skin tones. Finding the best cosmetics for dry skin in India doesn’t have to be expensive. Many budget-friendly brands offer foundations and concealers in a range of Indian skin tones.
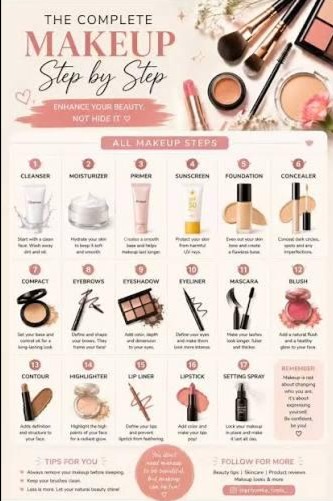
One of the most important tips when applying the best cosmetics for dry skin is to use thin layers and blend each product gently.
Step 1: Cleanse gently
Start with a mild, non-foaming cleanser that doesn’t strip your skin. Harsh cleansers can worsen dryness and make makeup cling to flakes. If your skin feels tight after cleansing, switch to a cream or milky cleanser.
Pat your face dry with a soft towel—don’t rub.
Step 2: Hydrate with toner or essence (optional but helpful)
If you use a hydrating toner or essence, apply it now while your skin is still slightly damp. Look for ingredients like hyaluronic acid, glycerin, or rice water. This adds an extra layer of hydration so your subsequent products absorb better and don’t sit on top of dry patches.
Press it into your skin with your palms instead of wiping.
Step 3: Apply serum (if part of your routine)
Use a hydrating serum with hyaluronic acid, niacinamide, or ceramides. Avoid strong actives like high-percentage acids right before makeup if your skin is very dry or flaky, as they can increase sensitivity and texture issues.
Let the serum sink in for 1–2 minutes.
Step 4: Moisturize well
This is the most important step for dry skin. Choose a rich but non-greasy moisturizer with ingredients like ceramides, squalane, or shea butter. Apply it to your face, neck, and even chest if those areas will be visible.
Wait at least 5 minutes before moving on. Your moisturizer should feel absorbed and your skin should be soft to the touch, not slippery. This prevents your foundation from sliding or separating later.
Step 5: Sunscreen (daytime only)
Use a hydrating sunscreen suitable for your skin type. Gel-based sunscreens can be drying, so opt for lotion or cream formulas labeled “hydrating” or “for dry skin.” Let it set for a few minutes before primer.
Step 6: Hydrating primer
Choose a hydrating, slightly tacky primer rather than a mattifying one. Mattifying primers can emphasize dryness and make your base look patchy. Apply a thin layer to the center of your face and press outward with your fingertips or a flat brush. Focus on areas that tend to get flaky (around the nose, cheeks, and forehead).
Let the primer set for about 30–60 seconds. That slight tackiness helps your foundation adhere to your skin instead of your dry patches.
Step 7: Color corrector (only if needed)
If you have dark circles, redness, or pigmentation, use a cream color corrector before foundation:
- Peach/orange for dark circles on medium to deep skin.
- Green for redness.
- Lavender for dullness or sallow tones.
Apply a tiny amount only where needed and blend gently with your fingertip or a small sponge. Too much product here can add thickness and lead to cakiness.
Step 8: Foundation or skin tint
For dry skin, choose a liquid or cream foundation with a luminous, satin, or “natural glow” finish. Avoid thick, fast-drying matte foundations and powder foundations, which tend to look cakey on dry skin.
Application technique to avoid cakey makeup:
- Shake or mix your foundation well.
- Pump a small amount onto the back of your hand.
- Dampen a beauty sponge under running water, squeeze out excess, and wrap it in a tissue to remove extra water.
- Pick up a little foundation on the tip of the sponge.
- Start at the center of your face (forehead, nose, cheeks, chin) and stipple or bounce the sponge—don’t drag.
- Work outward toward your hairline and jaw, using less product as you go.
- On dry patches, use even less product and press gently instead of rubbing.
Build coverage in thin layers if needed, letting each layer settle for a few seconds. The aim is “your skin but better,” not a full mask.
Step 9: Concealer
Use a creamy, hydrating concealer that doesn’t dry down completely matte. Choose a shade that matches your skin for blemishes and a shade slightly lighter for under-eye brightening.
- Dot concealer only where you need it (under eyes, around the nose, on spots).
- Blend with your ring finger or a small damp sponge using gentle pressing motions.
- Avoid applying thick layers under the eyes, which can crease and look cakey.
Let it set for about a minute before powdering.
Step 10: Light setting (powder only where necessary)
If you have very dry skin, you may skip powder altogether and rely on setting spray. If you need to reduce shine or lock in concealer:
- Use a finely milled translucent powder or a luminous setting powder.
- Apply a tiny amount with a small fluffy brush only on areas that tend to get oily or where concealer creases (usually under the eyes and T-zone).
- Avoid dusting powder all over your face; this is a common cause of cakey makeup on dry skin.
Tap off excess powder from your brush before applying.
Step 11: Bronzer for warmth
Choose a cream or satin-finish bronzer rather than a very matte, powdery one. Cream bronzers blend more naturally into hydrated skin and don’t emphasize dryness.
- Apply where the sun naturally hits: hollows of your cheeks, along your hairline, and lightly on your jawline.
- Use a stippling brush or your fingers and blend well.
- Stay within two shades darker than your natural skin tone to avoid a muddy look.
Step 12: Blush for a healthy flush
Cream blushes are ideal for dry skin because they melt into the skin and look like a natural flush. Liquid and gel blushes also work well.
- Smile lightly and apply blush to the apples of your cheeks, blending upward toward your temples.
- Use your fingertips or a damp sponge to press the color in.
- Start with a small amount—you can always build, but it’s hard to remove excess without disturbing your base.
For Indian skin tones, warm pinks, corals, and terracotta shades often look very natural.
Step 13: Highlighter for glow
Use a cream or liquid highlighter for a “lit-from-within” glow. Avoid chunky glitter highlighters, which can emphasize texture and dryness.
- Apply a tiny amount to the high points of your face: tops of cheekbones, bridge of the nose, cupid’s bow, and inner corners of the eyes.
- Blend with your fingertip using gentle tapping motions.
- Less is more; you want a subtle sheen, not a metallic stripe.
Step 14: Eye makeup (simple and hydrating)
For everyday wear, keep eye makeup simple to avoid a heavy look:
- Apply a neutral eyeshadow shade across your lids with a flat brush or your finger.
- If you want more definition, blend a slightly deeper shade into the crease.
- Use a creamy eyeshadow stick for quick, blendable color if you’re in a hurry.
For eyeliner, a pencil is beginner-friendly. Draw small dashes along your lash line and connect them, then gently smudge for a softer look. Finish with one or two coats of mascara, wiggling the wand at the roots and pulling through to the tips.
If your eyelids are very dry, avoid overly matte, powdery eyeshadows that can look patchy; cream formulas are more forgiving.
Step 15: Lip color
Line your lips if you prefer defined edges, then fill them with a hydrating lipstick, tinted balm, or gloss. For dry lips, avoid very matte, long-wear liquid lipsticks unless you prep with a good lip balm first.
- Apply lip balm a few minutes before lipstick to soften any flakes.
- Blot excess balm, then apply your color.
- Creamy lipsticks and glosses with oils or butters keep lips comfortable and prevent a cracked, dry look.
Step 16: Setting spray to lock everything in
Finish with an alcohol-free, hydrating setting spray. This step is crucial for dry skin because it melds all the layers together and adds a fresh, non-powdery finish.
- Hold the bottle 8–10 inches from your face.
- Spray in an “X” and then a “T” pattern for even coverage.
- Let it dry completely before touching your face or adding anything else.
If you need extra glow, you can mist again lightly after blush and highlighter.
Midday touch-ups without making it cakey
Through the day, avoid piling on powder, which quickly turns dry skin makeup heavy and cakey. Instead:
- Blot any shiny areas gently with a clean tissue or blotting paper.
- If your base has faded, press a tiny amount of foundation or concealer onto those areas with a damp sponge.
- Finish with one light spritz of setting spray to refresh the finish.
This approach maintains hydration and prevents the “layered” look that causes cakiness.
Extra tips to prevent a cakey look on dry skin
- Prep is everything: Well-moisturized, primed skin is 70% of a non-cakey base. Never rush this step.
- Use less product: It’s easier to add than to remove. Start with a pea-sized amount of foundation and build only if necessary.
- Favor creams and liquids: Cream blush, bronzer, and highlighter blend seamlessly into dry skin and look more natural than heavy powders.
- Avoid over-powdering: If you must use powder, keep it minimal and only where needed.
- Choose luminous finishes: Dewy, satin, or “natural glow” formulas reflect light and make dry skin look healthy instead of flat and textured.
- Clean your tools: Dirty brushes and sponges can apply product unevenly and harbor bacteria that worsen dryness and breakouts. Clean them at least once a week.
By combining the right affordable products for your Indian skin tone with this hydrating, step-by-step technique, you can achieve a flawless, comfortable makeup look that enhances your dry skin instead of masking it. The result is a fresh, radiant finish that stays smooth—never cakey—throughout the day.